Creating My Garden Retreat
- hillareeh
- May 20, 2023
- 4 min read
I'd like to think I'm an avid gardener but I'm definitely still working on my green thumb. But, I do love creating beauty and that isn't limited to the indoors. Creating a place where I can grow something from seed, see beautiful flowers bloom and enjoy the fruits of our labors is so fulfilling.
There's something magical about gardening and it's a definite mood booster for me so as soon as the warmer weather came so did my excitement create my own garden retreat. I have always wanted a beautifully fenced in garden with overflowing flowers and veggies and now I get to bring it to life!
Here's a look at where I started and how it's going so far!

The Before
The previous owners of our home had created a large slab of gravel and sand in the corner of the yard for their above the ground pool. My boys quickly turned it into a sand box and have loved digging and playing there.
Fun side note, when we were looking for a home to buy last fall, this home was lovingly referred to as the "sandbox house" because there was a cute turtle sandbox they remembered. Little did we know then that it would be ours!
Sadly, they took the pool with them when they moved but they left so much opportunity to create something new! With so much grass already taken out and the ample sunlight in this corner of the yard I knew from the beginning that this is where I wanted to put my garden. Now just to figure out how to combine the sandbox with the garden to create something functional and beautiful for our family.

The Design Plan
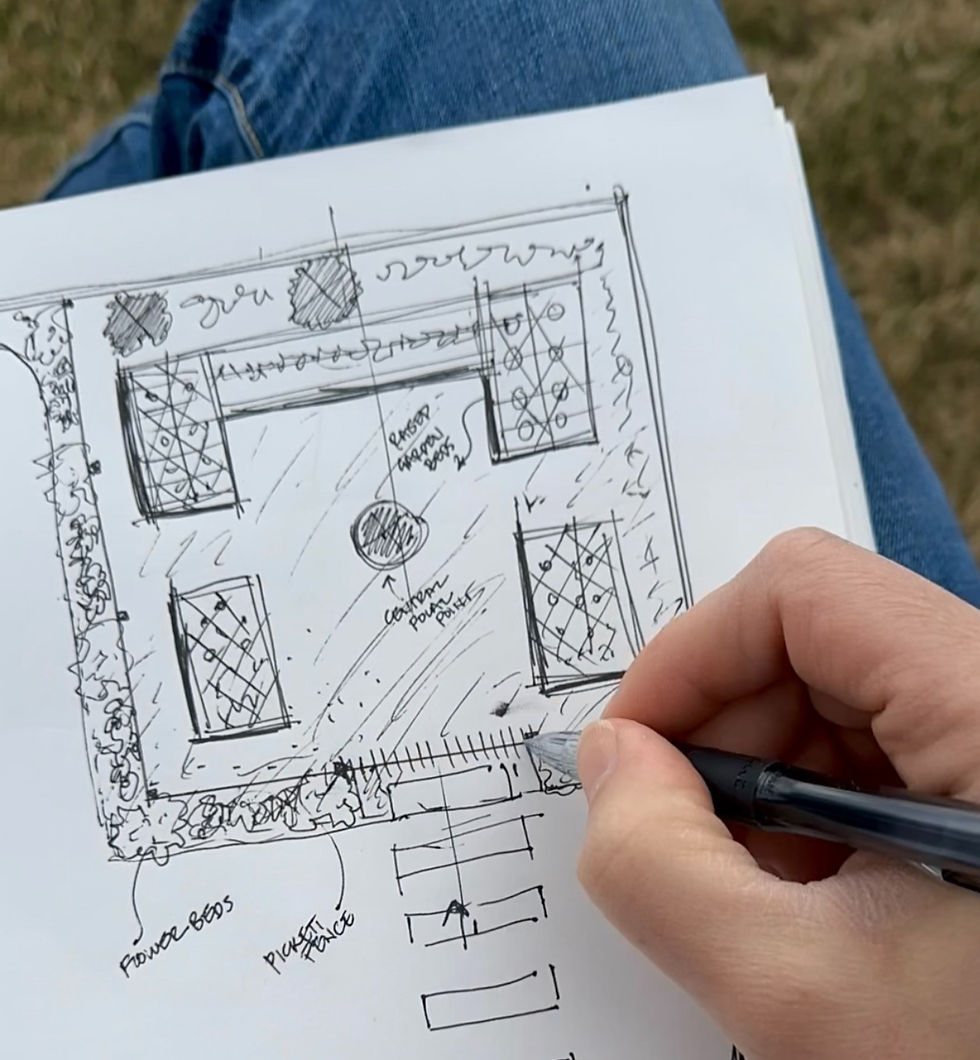
I always start with a plan before I begin a project. Plans do change as problems and solutions come along the way but it's still important to have a plan. In this case, I sketched it out my ideas on paper, looked for inspiration and figured out what materials I wanted to use, starting with what I found laying around our new place.
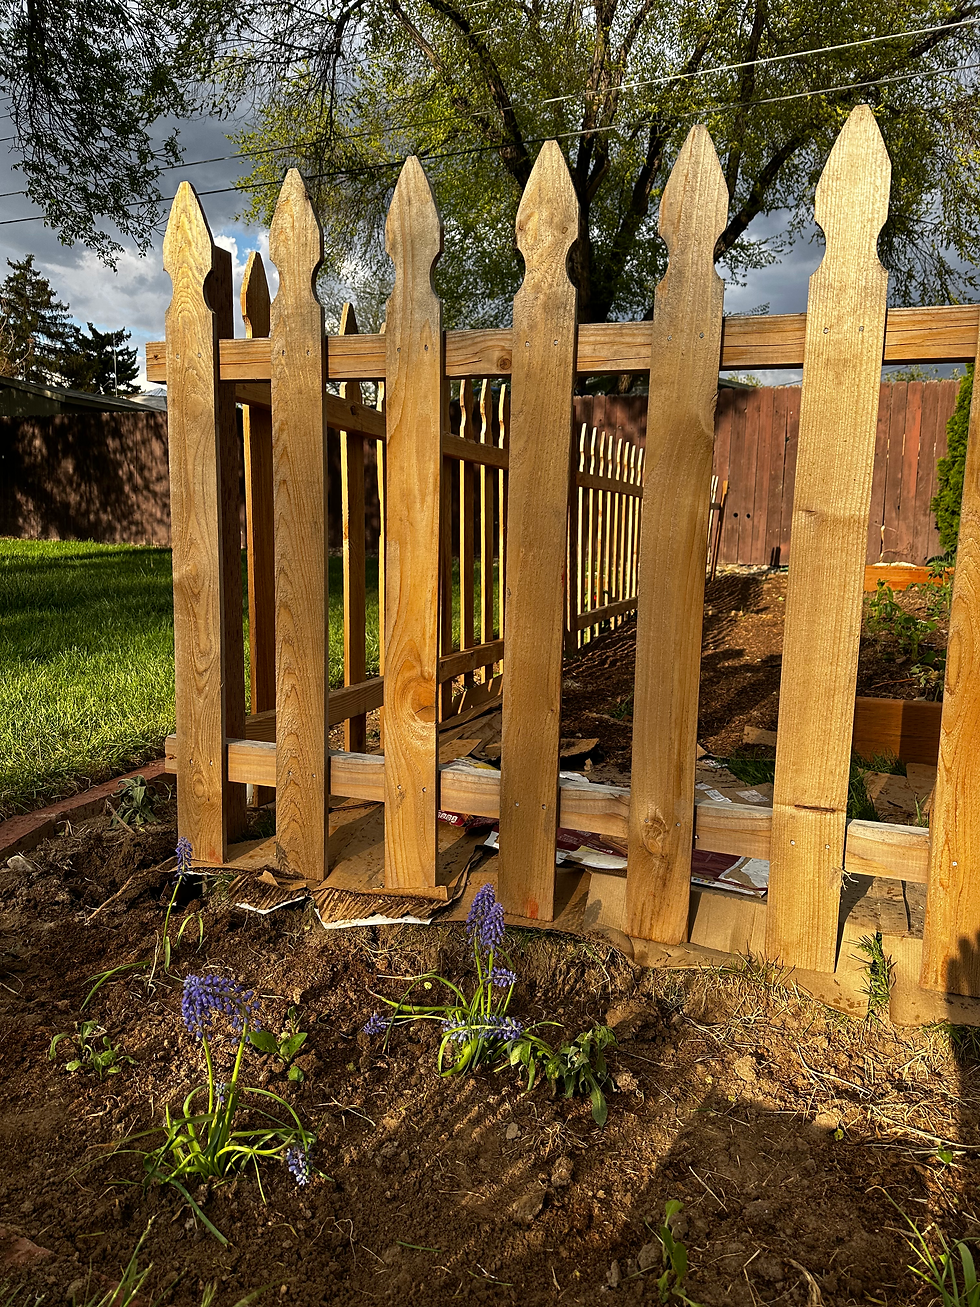
We found fencing and an old brick path on the side of the house that I thought would be perfect to contain the garden area and create a sense of space. That combined with the sandbox started to get the ideas flowing. Some of the best designs begin within a constraint, working with the space or material you have and finding clever ways to make it special.
I was raised in a family with a creative, do-it-yourself attitude and that has gotten me far in life. I don't have the budget many of my client's do, but that hasn't stopped me yet! From the beginning I've needed this space to be as affordable as possible and that takes a bit of creativity. If you can reuse what you have and give it new life instead of throwing it away it can save you lots of money and still look beautiful in the end!

And so it begins!
I was initially thinking to spread the gravel around the garden beds and make the boys sandbox area much smaller than it is. After measuring and thinking about future plans for the space like, adding pavers over the sand to make another outdoor seating area when the boys are older, I decided to go a little larger. It also made things easier to use the proportions of the lumber and do fractions of 8 like you'll find in classical architecture. Why not draw inspiration from the greats?!
I purchased 2x8's in 8 foot lengths from Lowes (links to all the sources at the end!) to create the raised garden beds. Pressure treated lumbar is a bit more than your typical board foot but it lasts so much better when used in contact with the ground than something that isn't treated. I want this outdoor space to last for years to come so I knew it was the way to go. There are many other raised garden bed options out there with cedar or metal but I liked the look and warmth of the wood. I also kept things low and closer to the ground so my kids can be involved, to keep costs down, and so they don't feel too large in our yard.
Luckily, the existing wood was also pressure treated so I was able to use it for the fence posts and set them in quickcrete cement. I've never done concrete before but was a cinch using this quickset mix. It was easy as pour it in the whole and add water, no mixing required!
My sister and a few friends have been so generous to share starts from many of their own plants to get our garden going. It's like they're sharing a piece of themselves with our family which is incredibly special. I'm so excited to share more as I create this beautiful outdoor space and we see the fruits of all this hard work. Stay tuned as I finish the arbor, sprinklers, and getting all the plants growing!
Remember, you don't need a fortune to create something beautiful and uniquely yours. It just takes some creative planning and sometimes looking at what you have with possibility.
Happy creating friends!
❤️/ Hillaree
Project Sources:


Cute lil safe place! Love ♥️🖤